DEPLOY2
프로젝트 배포 방법)
- 서버 구축하기
- 배포 솔루션 Firebase 이용하기
구글 검색창에 'firebase' 검색 후 홈페이지 접속. 이후 시작하기 버튼 클릭하여 Firebase 콘솔 접속.
참고링크 : https://firebase.google.com/?hl=ko
Firebase | Google’s Mobile and Web App Development Platform
개발자가 사용자가 좋아할 만한 앱과 게임을 빌드하도록 지원하는 Google의 모바일 및 웹 앱 개발 플랫폼인 Firebase에 대해 알아보세요.
firebase.google.com
이후 '프로젝트 만들기' 클릭. 프로젝트 이름 지정 후 체크박스 체크 후 '계속' 클릭. Google 애널리틱스 체크 해제 후 '프로젝트 만들기' 클릭. 잠시 기다린 후 'Firebase 프로젝트가 준비되었습니다.' 뜨면 '계속' 클릭.
프로젝트 상세페이지로 이동하게 되면, 왼쪽 빌드탭의 Hosting 클릭하여 페이지로 이동한다. '시작하기' 누르면 Firebase CLI 설치가 뜨게 되는데, 명령어를 복사하여 관리자 권한으로 실행한 CMD 에서 명령어를 실행한다.
- CMD
npm install -g firebase-tools
    added 640 packages in 30s

    66 packages are looking for funding
    run `npm fund` for details
설치가 완료되면 '다음' 버튼 클릭. 프로젝트 초기화에서 웹 앱의 루트 디렉토리를 만들라고 하는데, vscode 터미널에서 'emotion_diary' 폴더 경로로 이동하여 명령어를 실행하면 권한이 없다고 뜬다.
관리자 권한 CMD 에서 'emotion_diary' 폴더 경로로 이동하여 명령어를 실행한다. vscode 의 터미널 탭 오른쪽의 '+' 옆에 '∨' 버튼을 눌러 'Command Prompt' 클릭하여 명령어를 실행해도 된다.
- CMD
D:\개발\emotion_diary>firebase login
    i  Firebase optionally collects CLI and Emulator Suite usage and error reporting information to help improve our products. Data is collected in accordance with Google's privacy policy (https://policies.google.com/privacy) and is not used to identify you.

    ? Allow Firebase to collect CLI and Emulator Suite usage and error reporting information? (Y/n) Y
구글 계정 선택이 뜨면 계정을 선택하여 로그인한다.
- CMD
    i  To change your data collection preference at any time, run `firebase logout` and log in again.

    Visit this URL on this device to log in:
    https://accounts.google.com/o/oauth2/auth?client_id=563584335869-fgrhgmd47bqnekij5i8b5pr03ho849e6.apps.googleusercontent.com&scope=email%20openid%20https%3A%2F%2Fwww.googleapis.com%2Fauth%2Fcloudplatformprojects.readonly%20https%3A%2F%2Fwww.googleapis.com%2Fauth%2Ffirebase%20https%3A%2F%2Fwww.googleapis.com%2Fauth%2Fcloud-platform&response_type=code&state=351997319&redirect_uri=http%3A%2F%2Flocalhost%3A9005

    Waiting for authentication...

    +  Success! Logged in as stbhg5@gmail.com
로그인이 성공했다. 반드시 루트 경로인 'emotion_diary' 폴더 경로에서 명령어를 실행한다.
- CMD
firebase init

        ######## #### ########  ######## ########     ###     ######  ########
        ##        ##  ##     ## ##       ##     ##  ##   ##  ##       ##
        ######    ##  ########  ######   ########  #########  ######  ######
        ##        ##  ##    ##  ##       ##     ## ##     ##       ## ##
        ##       #### ##     ## ######## ########  ##     ##  ######  ########

    You're about to initialize a Firebase project in this directory:

    D:\개발\emotion_diary

    ? Are you ready to proceed? Yes
    ? Which Firebase features do you want to set up for this directory? Press Space to select features, then Enter to confirm your choices. Hosting:
    Configure files for Firebase Hosting and (optionally) set up GitHub Action deploys

    === Project Setup

    First, let's associate this project directory with a Firebase project.
    You can create multiple project aliases by running firebase use --add,
    but for now we'll just set up a default project.

    ? Please select an option: Use an existing project
    ? Select a default Firebase project for this directory: jint-react-project (jint-react-project)
    i  Using project jint-react-project (jint-react-project)

    === Hosting Setup

    Your public directory is the folder (relative to your project directory) that
    will contain Hosting assets to be uploaded with firebase deploy. If you
    have a build process for your assets, use your build's output directory.

    ? What do you want to use as your public directory? build
    ? Configure as a single-page app (rewrite all urls to /index.html)? Yes
    ? Set up automatic builds and deploys with GitHub? No
    ? File build/index.html already exists. Overwrite? Yes
    +  Wrote build/index.html

    i  Writing configuration info to firebase.json...
    i  Writing project information to .firebaserc...

    +  Firebase initialization complete!
해당 사항들을 선택하면 Firebase init 이 완료되었다고 뜨며, 'emotion_diary' 폴더 경로에 .firebaserc, firebase.json 파일이 생성된다. 이 웹 서비스를 호스팅하기 위해 필요한 파일이다.
이후 다시 Firebase 호스팅 설정으로 돌아와 '다음'을 클릭하여 'firebase deploy' 명령어를 확인한 뒤 바로 수행하지 않고 '콘솔로 이등' 클릭. 이후 Hosting 사이트 관리의 대시보드에서 맨 아래의 여러 사이트를 지원하는 Firebase 호스팅의 '다른 사이트 추가' 클릭. 배포하게 될 도메인을 입력한다. 기존에 존재했던 도메인에 배포해도 된다.
firebase.json 파일에서 어디에 배포할지 설정한다.
- firebase.json
{
  "hosting": {
    "site": "jint-react-project",
    "public": "build",
    "ignore": [
      "firebase.json",
      "**/.*",
      "**/node_modules/**"
    ],
    "rewrites": [
      {
        "source": "**",
        "destination": "/index.html"
      }
    ]
  }
}
"site" 에 배포할 도메인을 추가한다. 이후 빌드 후 배포를 진행한다.
- CMD
npm run build
    > emotion_diary@0.1.0 build
    > react-scripts build

    Creating an optimized production build...
    Compiled with warnings.

    [eslint]
    src\components\DiaryItem.js
    Line 30:17:  img elements must have an alt prop, either with meaningful text, or an empty string for decorative images  jsx-a11y/alt-text

    src\components\DiaryList.js
    Line 1:17:  'useEffect' is defined but never used  no-unused-vars

    src\components\EmotionItem.js
    Line 9:13:  img elements must have an alt prop, either with meaningful text, or an empty string for decorative images  jsx-a11y/alt-text

    src\pages\Diary.js
    Line 27:8:   React Hook useEffect has a missing dependency: 'id'. Either include it or remove the dependency array        react-hooks/exhaustive-deps
    Line 41:8:   React Hook useEffect has a missing dependency: 'navigate'. Either include it or remove the dependency array  react-hooks/exhaustive-deps
    Line 59:29:  img elements must have an alt prop, either with meaningful text, or an empty string for decorative images    jsx-a11y/alt-text

    src\pages\Edit.js
    Line 24:8:  React Hook useEffect has a missing dependency: 'id'. Either include it or remove the dependency array        react-hooks/exhaustive-deps
    Line 38:8:  React Hook useEffect has a missing dependency: 'navigate'. Either include it or remove the dependency array  react-hooks/exhaustive-deps

    Search for the keywords to learn more about each warning.
    To ignore, add // eslint-disable-next-line to the line before.

    File sizes after gzip:

    54.61 kB  build\static\js\main.1f7a6815.js
    1.23 kB   build\static\css\main.bd6ec56f.css

    The project was built assuming it is hosted at /.
    You can control this with the homepage field in your package.json.

    The build folder is ready to be deployed.
    You may serve it with a static server:

    serve -s build

    Find out more about deployment here:

    https://cra.link/deployment
빌드가 끝나면 배포를 진행한다.
- CMD
firebase deploy
    === Deploying to 'jint-react-project'...

    i  deploying hosting
    i  hosting[jint-react-project]: beginning deploy...
    i  hosting[jint-react-project]: found 17 files in build
    +  hosting[jint-react-project]: file upload complete
    i  hosting[jint-react-project]: finalizing version...
    +  hosting[jint-react-project]: version finalized
    i  hosting[jint-react-project]: releasing new version...
    +  hosting[jint-react-project]: release complete

    +  Deploy complete!

    Project Console: https://console.firebase.google.com/project/jint-react-project/overview
    Hosting URL: https://jint-react-project.web.app
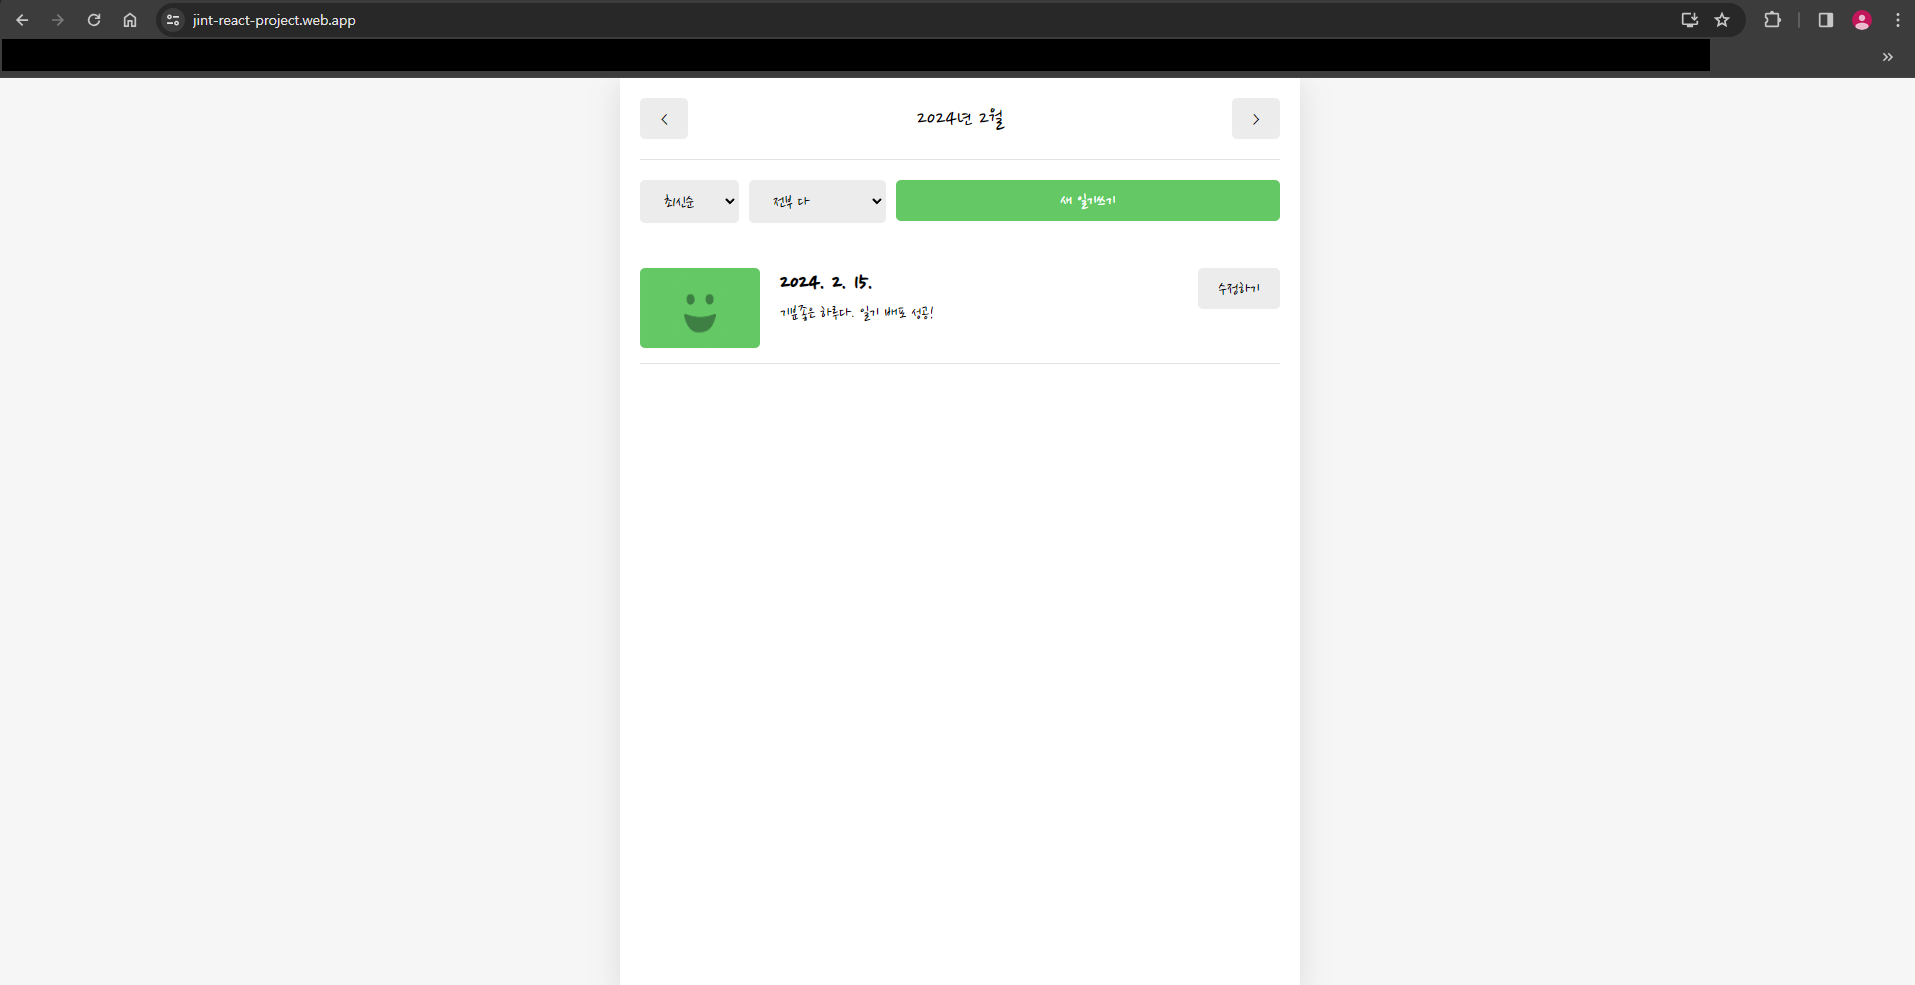
배포가 완료되면 호스팅 되는 URL 에 접속하여 새 일기를 작성하고, 새로고침 하고, 수정하기, 삭제하기를 진행한다. 모든 동작이 잘 동작하여 성공적으로 배포된 것을 확인할 수 있다.
Firebase 의 Hosting 사이트 관리에서 현재 버전과 이전 출시 버전을 확인할 수 있다. 무료인 Spark 요금제를 사용하기에 부담없이 다른 프로젝트도 배포하여 남들에게 공유할 수 있다.
참고강의 : https://www.inflearn.com/course/%ED%95%9C%EC%9E%85-%EB%A6%AC%EC%95%A1%ED%8A%B8#
한입 크기로 잘라 먹는 리액트(React.js) : 기초부터 실전까지 강의 - 인프런
개념부터 독특한 프로젝트까지 함께 다뤄보며 자바스크립트와 리액트를 이 강의로 한 번에 끝내요. 학습은 짧게, 응용은 길게 17시간 분량의 All-in-one 강의!, 리액트, 한 강의로 끝장낼 수 있어요.
www.inflearn.com
'강의 실습 > 한입 크기로 잘라 먹는 리액트(React.js) : 기초부터 실전까지' 카테고리의 다른 글
| Open Graph 설정하기 (0) | 2024.02.16 |
|---|---|
| 배포 준비 & 프로젝트 빌드하기 (0) | 2024.02.14 |
| 프로젝트 최적화 (1) | 2024.02.13 |
| LocalStorage를 일기 데이터베이스로 사용하기 (1) | 2024.02.12 |
| (서브 챕터) 흔히 발생하는 버그 수정 하기 (2) | 2024.02.11 |


댓글